As with clearing the cache in your browser, clearing the cache in Windows is a good start for troubleshooting system issues, improving system performance, and freeing up disk space. Here’s how to clear your cache in Windows 10.
Clear the Temporary Files Cache with Disk Cleanup
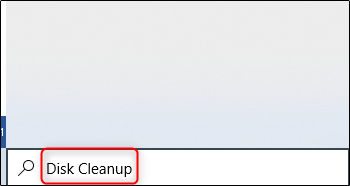
To clear the temporary files cache, enter “Disk Cleanup”” in the Windows search bar found in the bottom-left corner of the desktop.
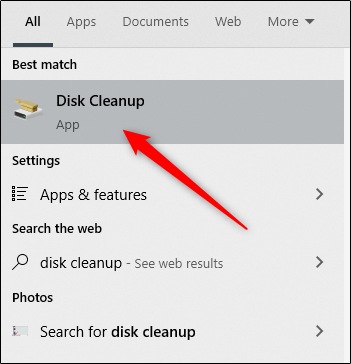
Select the “Disk Cleanup” app, which will appear in the Windows search results.
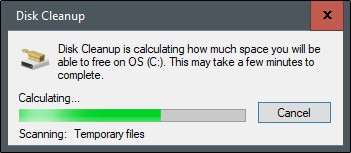
Once selected, Disk Cleanup will start calculating how much space you can free up on the operating system drive (C:).
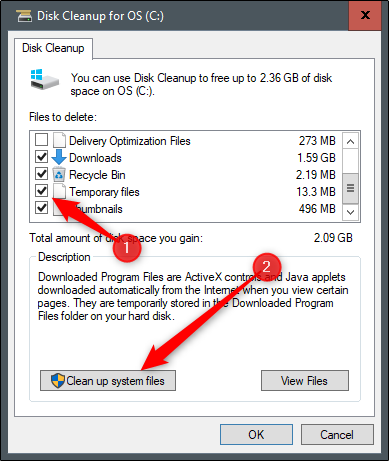
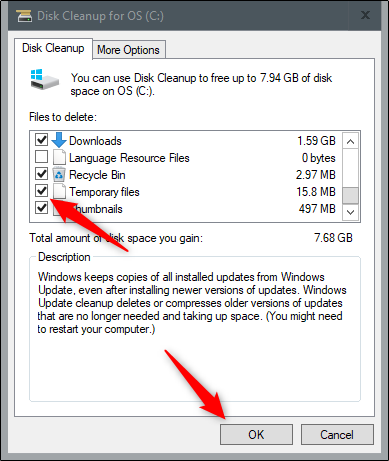
The Disk Cleanup for OS (C:) will now appear. Scroll down and check the box next to “Temporary Files.” You can also choose to delete files from other locations, such as “Recycle Bin” or “Downloads.”
Once you’ve selected what you’d like to clear, click “Clean Up System Files.”
Once Windows calculates the amount of storage space that will be freed up, you’ll be brought to the same page again. This time, select the files and locations a second time that you’d like to delete and then click “OK.”
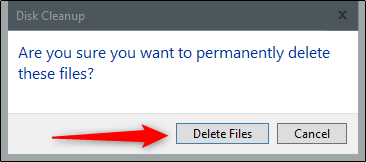
A warning will appear, prompting you to confirm you are sure you want to permanently delete the files. Select “Delete Files.”
Disk Cleanup will now clean up unnecessary files on your machine. This process could take several minutes.
