How to Curve Text in PowerPoint 2 Ways
2 Methods to Add Curved Text in PowerPoint
There are actually several different ways to create curved text in PowerPoint. You can either add the text first and then add the style element, or you can directly add WordArt text and then change various parameters.
Method 1: Using Text Effects
First, add a text box to your slide by clicking on the "Text" option and dragging your mouse to create it. Don't worry about the size, since you can tweak everything later.
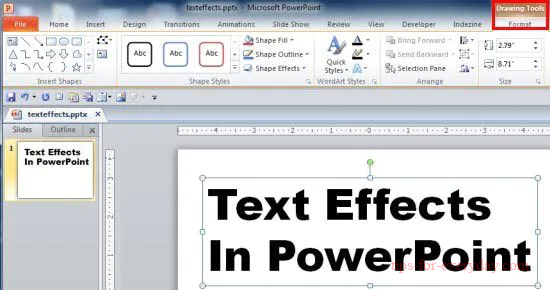
Once you have typed in your text, select it and click on "Format" in the ribbon toolbar.
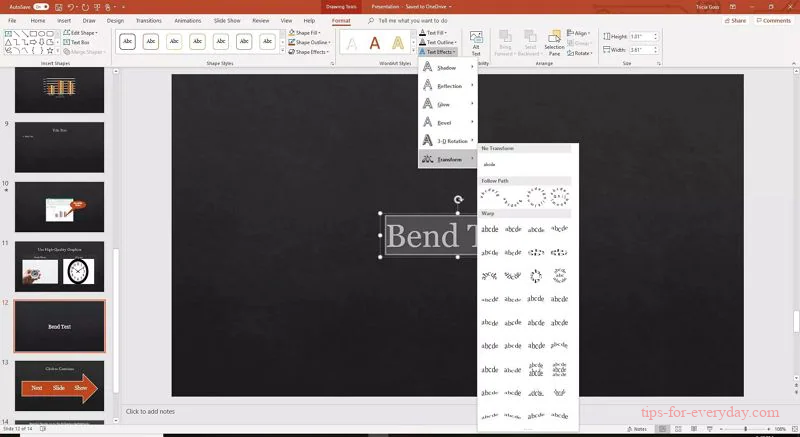
Look for "Text Styles" and, under that, hit "Text Effects" and select "Transform" in the drop-down. You can now specify the path you want your text to follow.
Once you've added the curved text, you can resize it, move it to another position, change text attributes, add a border and/or fill, and so on.
curved text in powerpoint
You can do a lot of customization this way, but a better approach would be to use WordArt. That's because you have a long list of preset options that you can further tailor to suit your branding needs.

Method 2: Customize WordArt Text
For this, go to the slide where you want to put the curved text and click on Insert at the top, followed by "WordArt" in the "Tools" section.
Pick your theme from the popup options and click on it.
Select the placeholder text in case you want to further customize the text.
Next, select the text box and click "Drawing Tools Format", then go to "Text Effects" > "Transform". Choose a bend effect from the "Follow Path" section.
You can now use the "Transform" tool to modify your text to curved or even circular text.

