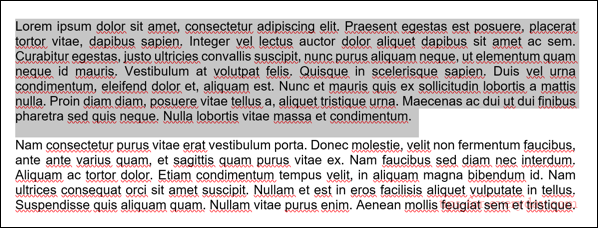
Adding a Hanging Indent to a Microsoft Word Document
A hanging indent can be applied to individual paragraphs or to the document as a whole. Applying a hanging indent will keep the first line in the usual position, square against the margins of your document, with each further line indented inwards.
If you want to apply the hanging indent to a single paragraph, place your blinking cursor in that paragraph of text first or select the paragraph as a whole. You can also apply the setting to several blocks of text at once by selecting multiple paragraphs.
If you want to apply this setting to your entire document, you’ll be able to do this at a later stage. For now, you can place your blinking cursor anywhere in your document.

Once your text is selected, click the “Home” tab on the ribbon bar. From here, select the “Extra Options” icon in the bottom-right corner of the “Paragraph” section.

This will open the “Paragraph” settings window. Click the “Special” drop-down menu, listed under the “Indentation” section of the “Indents And Spacing” tab.
From here, select the “Hanging” option.
You can choose how much the text is indented by changing the sizing in the “By” box next to this setting, with sizing shown in centimeters.
A preview is shown at the bottom, allowing you to view how the text will look once the setting is applied.
